Henna for Beginners: Everything You Need to Know Before You Try It at Home
If you've found yourself scrolling past gorgeous henna designs on Pinterest and wondering, “Could I try this myself?”—you’re not alone. Henna is having a serious moment right now!
Whether you’re completely new to henna or just curious about trying it at home, this guide is for you. Let’s get into the basics, the beauty, and the how-to’s of henna.
💛 What Is Henna?
Henna is a natural dye made from the dried leaves of the Lawsonia inermis plant. It’s been used for thousands of years to create beautiful body art and to colour hair—completely naturally.
When mixed with water, lemon juice, or essential oils, henna turns into a smooth paste that stains the skin or hair in warm tones of red, orange, or brown. And the best part? It’s temporary, safe, and plant-based.
🌿 A Quick History of Henna
Henna has a rich, beautiful history, which started in South Asia, the Middle East, and North Africa. It is mostly associated with being used for weddings, religious celebrations, and festivals—often symbolising joy, beauty, and new beginnings.
In India, brides are adorned with intricate henna patterns during pre-wedding rituals. In Morocco and Egypt, henna has been used as a cooling agent, a protective blessing, and yes—an ancient beauty treatment! Egyption pharaohs were know to adorn their hair and nails with Henna, so it became known as something that symbolized wealth and purity.
✋ Can You Do Henna at Home?
Absolutely! And it's honestly not as tricky as it looks. You can go to a professional for detailed, wedding-style designs, but for a little creative fun or a minimalist beauty moment, at-home henna is totally doable.
🖌️ How to Do Henna at Home (Beginner-Friendly!)
If you're just starting out, here's how to keep it simple:
What you’ll need:
- A ready-made henna cone (you can find these online or in beauty shops)
- A patch of clean, dry skin (arms and hands are most popular)
- Tissue or cotton buds for clean-up
- Lemon-sugar mix (optional, helps deepen the stain)
- Patience (you’ll need to let it dry!)
Step-by-step:
- Test first! Do a patch test if you’ve never used henna before—just to be safe.
- Clean the area where you’ll apply the henna. No lotion or oils!
- Snip the tip of the henna cone for a fine line. Practice on paper before going onto your skin.
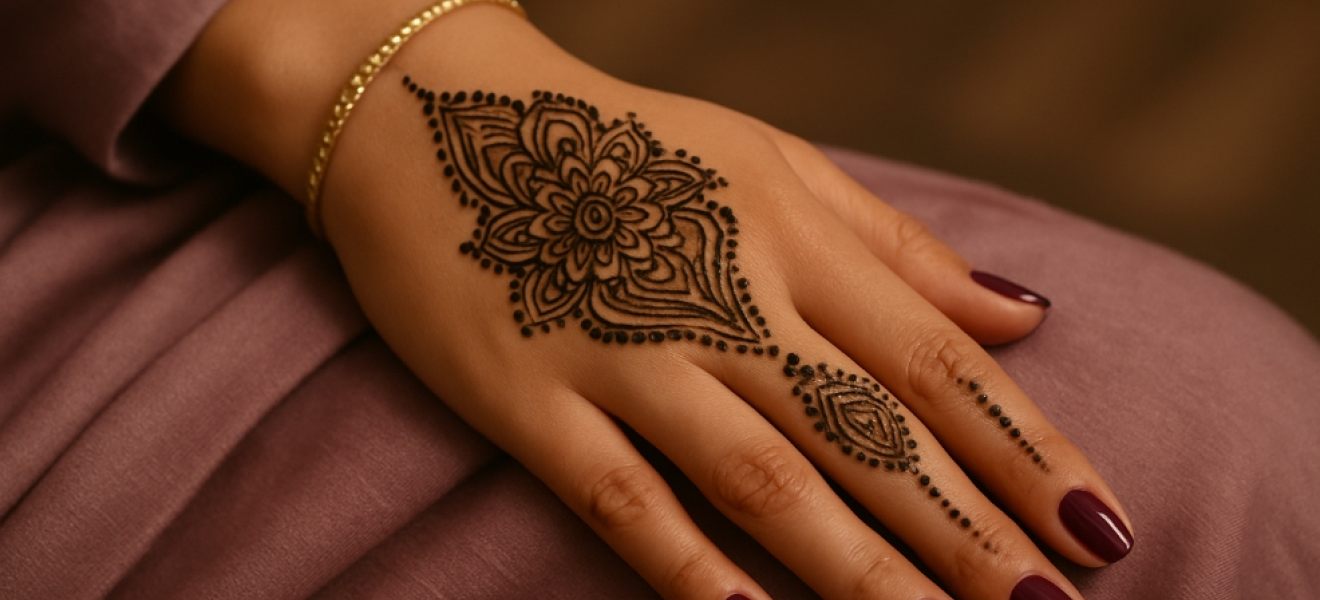
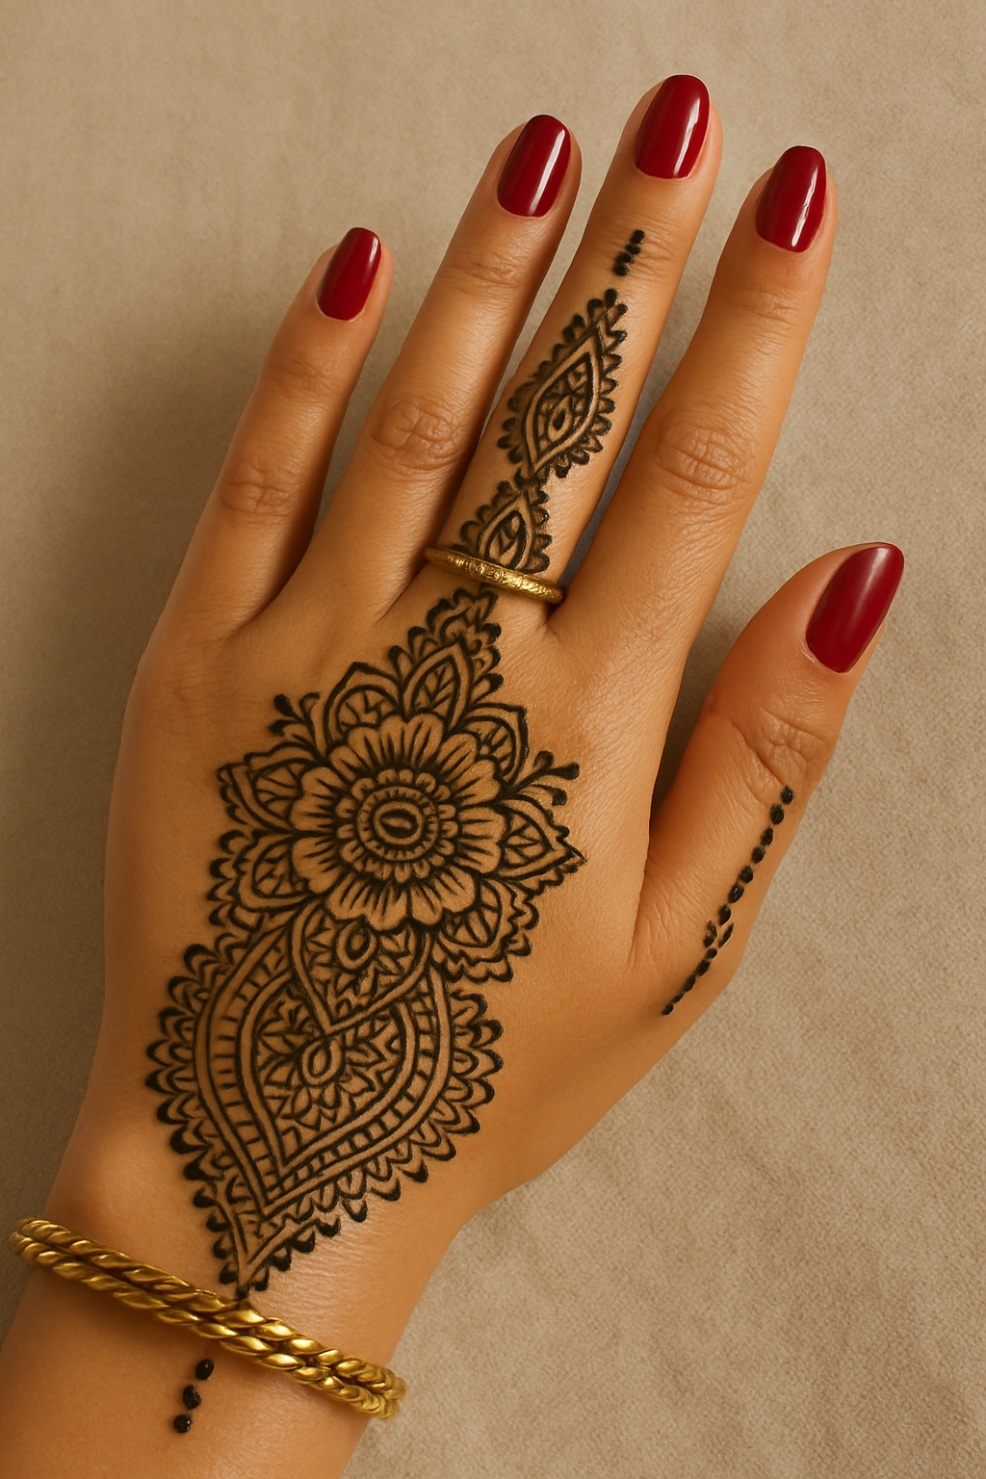
- Draw your design—start with dots, swirls, or simple flowers. Don’t worry about perfection!
- Let it dry completely (this takes about 30 minutes to an hour).
- Leave it on for several hours (the longer, the darker the stain).
- Scrape it off—no water! Avoid washing the area for at least 6–12 hours for the best stain.
💡 Top Tips:
- The stain starts off orange and darkens to a rich brown over the next 24–48 hours.
- Avoid “black henna” (it’s not natural and can cause reactions).
- Don’t rush—half the fun is in the relaxing, creative process.
✨ Why people Love Henna
People find the process of Henna creative, relaxing, and love that it gives off those effortless boho-glam vibes. Plus, it’s such a fun way to explore beauty beyond the usual products. Whether you go full mandala or just dot a few designs on your fingers, henna always feels a little special.
If you’re thinking of giving henna a try—do it! It’s a beautiful mix of art, history, and self-expression that’s perfect for your next quiet night in or beauty play day.
Let me know if you try it! I’d love to see your first designs (even the wobbly ones).

